Updated on by Susanna Fagerholm
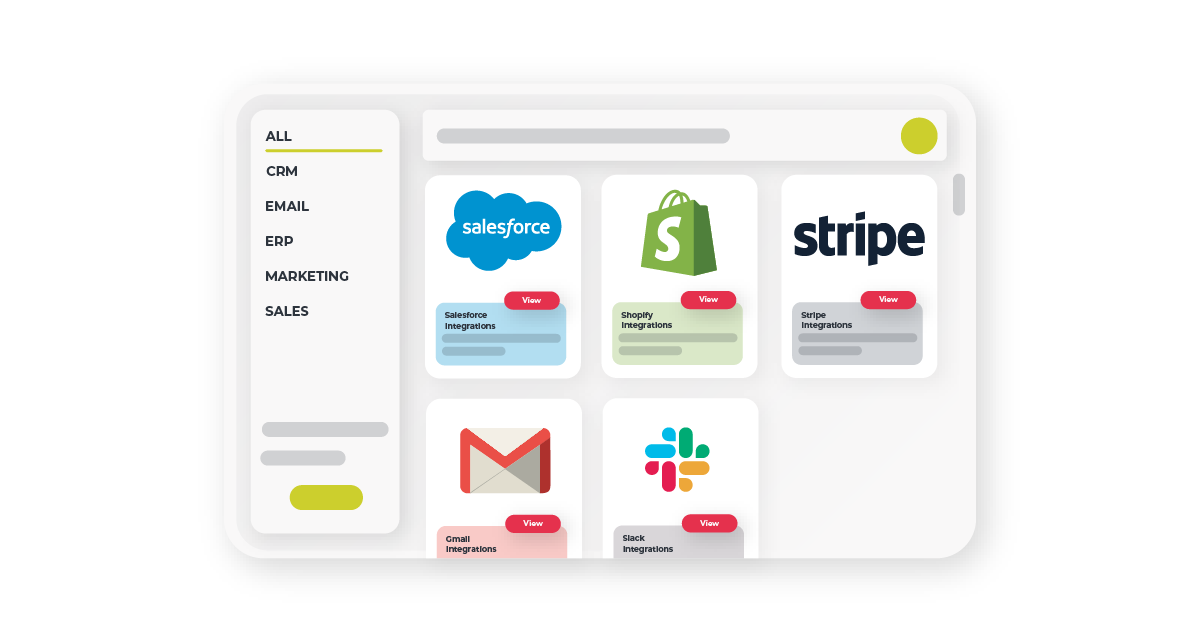
A marketplace is a great way for any SaaS application to showcase features, products and integrations. Users can view what they need at a glance and install what is appropriate for them in a quick self-serve fashion.
Cyclr’s marketplace is designed to allow users to create a catalogue of available integrations that are easily accessible to end-users. This marketplace is nestled within a SaaS application and the chosen set of integrations is publicly available for installation.
The marketplace is highly customisable and embeddable, which means the integrations included in the marketplace can be existing, native or Cyclr-built integrations. As a result, the marketplace can fit specific SaaS needs and is in line with the SaaS product aesthetic.
Creating a marketplace in Cyclr is easy, from setup and customisation to deployment and maintenance. So, let’s go through the process together.
Set up an Integration Marketplace
To start navigate to a Cyclr Console and in the right-hand navigation find ‘Embedding’ and then ‘Marketplace’. Here is the option to either create a new marketplace or configure settings to existing marketplaces.
To create a new marketplace, click “Create Marketplace” and define basic settings. These settings include the Marketplace name, description, and other essential details that will be visible to end-users.
When it comes to naming a Marketplace it is helpful for end-users that it’s clear and accurately reflects the nature of the integrations available. It will also include a description defining the scope and benefits of the marketplace.
Configuring Marketplace Settings
Now to configure marketplace settings, first click the three dots next to the marketplace that needs configuring and select Settings. Alternatively, if already working in the marketplace users can access the settings in the top right corner to configure. These settings are split into two, Marketplace Settings and Category Settings.

Firstly Marketplace Settings, this is where users can edit the name and description of their marketplace. As well as set the number of columns the marketplace cards will display, in other words, how many integrations it will display. Users can also customise the default terms displayed and set their ‘Marketplace Notification URL’ so Cyclr can notify users about their Marketplace usage.
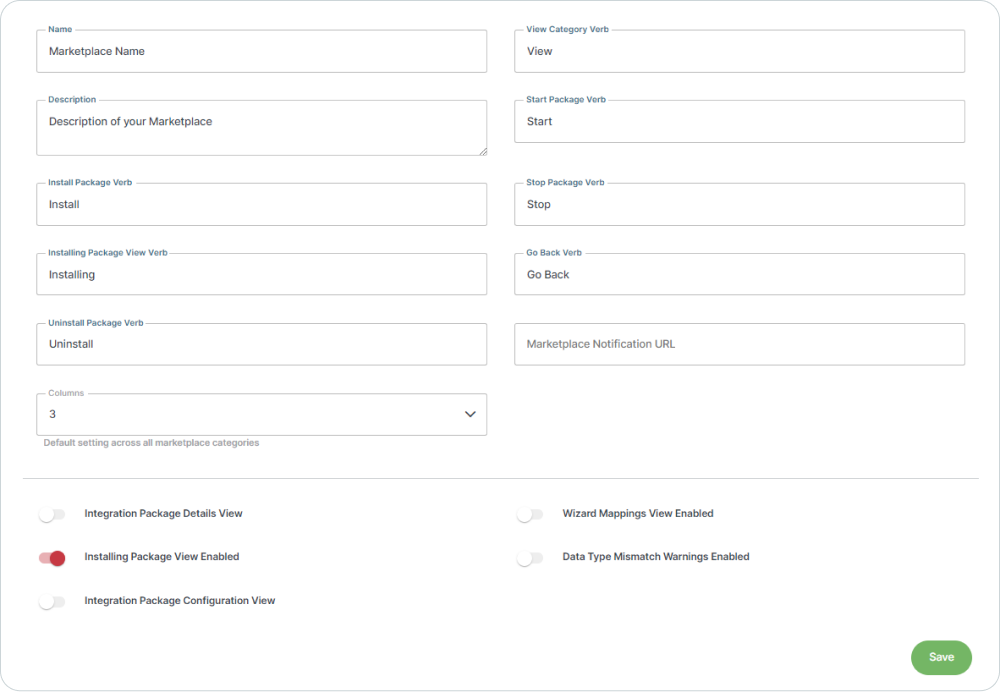
There are multiple toggle settings for users to switch on and off for managing user experience in the Marketplace Settings. These options include:
- Integration Package Details View
- When enabled, a “Details” option is available for installed Integration Packages within a Marketplace, to allow the end-user to view more details about an Integration Package once it’s been installed.
- Installing Package View Enabled
- When enabled, navigates the end-user to a separate page with an “Installing…” message when installing an Integration Package, regardless of whether authentication or mappings are needed. When disabled and no authentication or mappings are needed, the end-user won’t be taken to a separate page.
- Integration Package Configuration View
- If enabled, it allows the end-user to see an additional “cog” button for each installed Cycle in the “Details” section, allowing them to modify the mappings initially set when the Integration Package was installed.
- Wizard Mappings View Enabled
- Displays mappings in a multi-page wizard instead of a single page when the end-user installs an Integration Package.
- Data Type Mismatch Warnings Enabled
- Indicates if the data type warning should be shown during mapping when an end-user installs an Integration Package.
In Category Settings, users can change/override the number of columns for the card display specified in the Marketplace Settings. As well as customize the appearance for specific categories, and enable navigation features like auto-generated filters and search bars. Users can also add HTML headers and footers for their Marketplace.
Any of the appearance settings chosen will apply to users marketplace as a whole. To edit the appearance users will need to navigate to the Category first and from there access the Category’s own settings.
One tip is to utilize the breadcrumbs in Cyclr for navigation out of the settings once finished.
Adding Integrations to a Marketplace
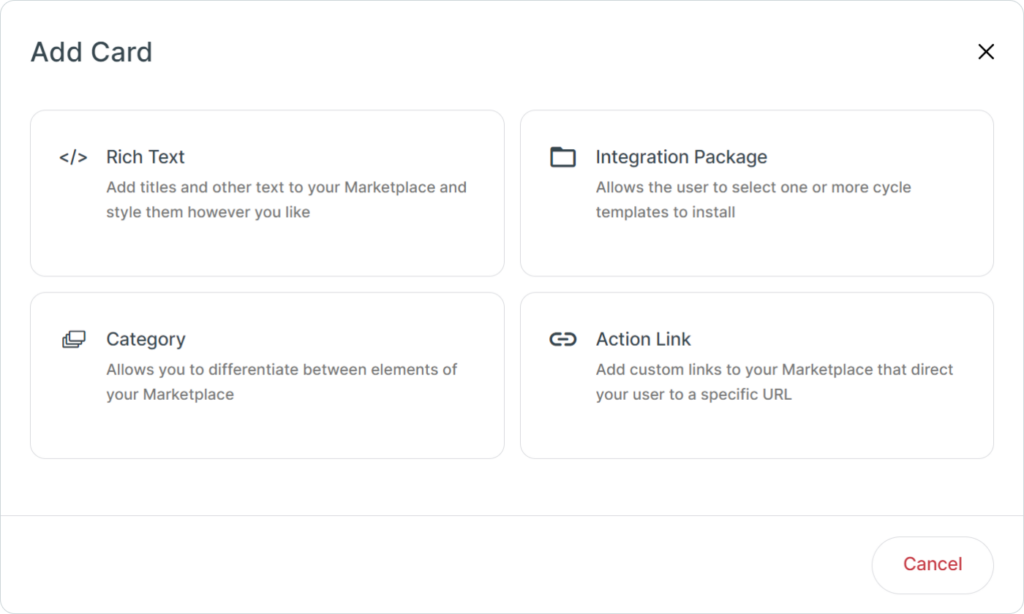
Once users have set up the basic configuration of their marketplace, the next step is to populate it with integrations. To add integrations select the ‘Add Card’ tile. Users are presented with four options: Rich Text; Category; Integration Package; or Action Link.
Rich Text
The Rich Text option allows users to add additional text to their marketplace. This includes titles, subheadings and anything else that might be useful for their customers. Selecting the Rich Text option opens a text editing box where users can add text and style it however they see fit. In a deployed marketplace, rich text cards stretch to the full width of the screen.
Category
The Category options provide users to option to differentiate between elements in their Marketplace and group together Integration Packages. As well as other subcategories. To create a category, simply click on the Category option, give it a name and select Add.
Users can edit the Category by selecting ‘Edit, users can change the name and add a description. They can also add up to two images to the Category card and add tags. These tags will help end-users to filter the available cards.
However, if a user wants to add cards inside the category, they’ll need to click on ‘Edit Category’. This appears below the category card and opens a new view. In this view, users can add cards in the same way as the main Marketplace page. After adding additional cards to the category users can change the appearance in the category settings which will make it appear differently to the rest of their Marketplace.
Integration Package
The Integration Package option gives users the ability to present related integrations in a single packet to end-users. With integration packages, customers can choose one or more cycle templates to install.
To set up an Integration Package users will need to provide a name and select the integration templates included in the package. The templates chosen need to be published to be included in the package. At this point, users can provide an ‘Installed Message’, which will be displayed upon installation. As well as an ‘Installed message’ which will display upon successful installation.
Installation packages also have three toggle settings:
- Single installation; selected if users want their end-users to only install the package once.
- Redirect back to Marketplace on Install Complete: This is selected if users want their end-users to be redirected back to the Marketplace once they have completed installing the package.
- Auto Start on Install Complete: selected if users want the integration to run immediately after installation by an end-user.
Action Link
Action Links allow users to add custom links to their Marketplace that direct their end-users to a specific URL. Users are presented with three fields: Link Name, which identifies the link to the end-user, Link Text which further clarifies where it will take the customer and the Link URL, which should contain the qualified URL.
Designing an Integration Marketplace
A well-organised marketplace with clear categories will help end-users find the integrations they need quickly and easily. User experience should be at the forefront of your design strategy to ensure that the marketplace is both attractive and functional.
Fortunately, within Cyclr you can customize the marketplace’s appearance with custom CSS. This means the integration marketplace can match a brand’s visual identity. These styling options can be accessed from the console menu under Settings and Appearance. Here you will find a field named ‘Application Custom CSS’ this is where users can input CSS. The customization options include modifying colours, fonts and layout structures to create a visually appealing and on-brand interface. The details for all of these options are included in our documentation.
Deploying a Marketplace
Once the Marketplace is configured and the necessary integrations have been added the Marketplace is ready for deployment. There are two ways to deploy Cyclr’s Marketplaces; Account Deployment and User Deployment.
The deployment method chosen depends on whether users are granting their end-users direct access to Cyclr or not. For instance, Account Deployment is a great option if users don’t plan on giving end-users direct access to Cyclr. This means they won’t see integration workflows and build integrations. However, the other option User Deployment grants end-users this ability.
Both methods require specific API requests to generate a marketplace URL that can be integrated into a user’s application interface. For Account Deployment, users will need to use Cyclr API’s /v1.0/accounts/{id}/marketplace endpoint. The process includes creating a button inside their application that makes a call to this endpoint to obtain a Marketplace URL and directs the user to that URL.
Whereas User Deployment requires users to make a request to a POST /v1.0/users/marketplace endpoint. As well as provide the Username of the User that is accessing the Marketplace. Note that ‘Users‘ in this case refers to end-users who have access to an account or sub-account that exists under your Partner Console. Don’t mistake this with Console Users, who have access to your Partner Console.
Our documentation provides a thorough run-through of both of these deployment methods, with some example code and lists of the required and available request and response parameters.
Utilising Callbacks and Webhooks
In Cyclr Marketplace callbacks refer to the mechanisms that handle user interactions and processes during the installation and operation of integration packages from the Marketplace. The Marketplace supports two types of callbacks: Marketplace callbacks and Webhook callbacks.
Marketplace callbacks can be used to provide end-users with feedback on the installation status of their integration packages. When an end-user installs an integration package, a user can either redirect them back to the Marketplace or display a completion message.
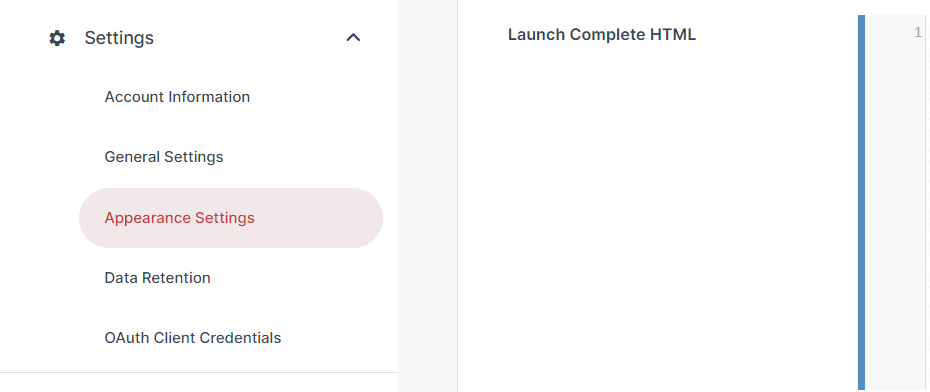
If users don’t want to redirect end-users back to the Marketplace they can instead customize the Marketplace Callback to show a specific message or perform additional actions. This can be done in Appearance Settings in the Partner Console under the ‘Launch Complete HTML’. Here users can add their own HTML or JavaScript to customize the final page of the installation process.
On the other hand, Webhook callbacks can be used to notify end-users about events within the marketplace. For instance, when a new user installs or uninstalls an integration package. These can be set up in the Marketplace settings, specifically in the Marketplace Notification URL box. Here, users can define the endpoint URL that will receive the notifications.
Conclusion
Ultimately, creating an Integration Marketplace in Cyclr provides a fantastic way for users and end-users to access integrations directly within an application. With Cyclr’s straightforward setup, customisable settings, and easy deployment options, users can offer end-users a polished and user-friendly integration experience.
With Cyclr’s Marketplace, users can ensure that end-users have easy access to essential integrations, with minimal development effort. Users can design a marketplace that looks great and meets the needs of end-users.
Our robust features and user-friendly interface make it an invaluable tool for creating a streamlined and cohesive integration environment for a SaaS. Start building a seamless integration hub that will both delight end-users and improve product functionality.
For more information about the Marketplace, be sure to visit our Documentation pages:
- Marketplace
- Set up a Marketplace
- Marketplace Settings
- Styling your Marketplace with Custom CSS
- Deploy a Marketplace
- Marketplace Callback
- Marketplace Webhook Callback
