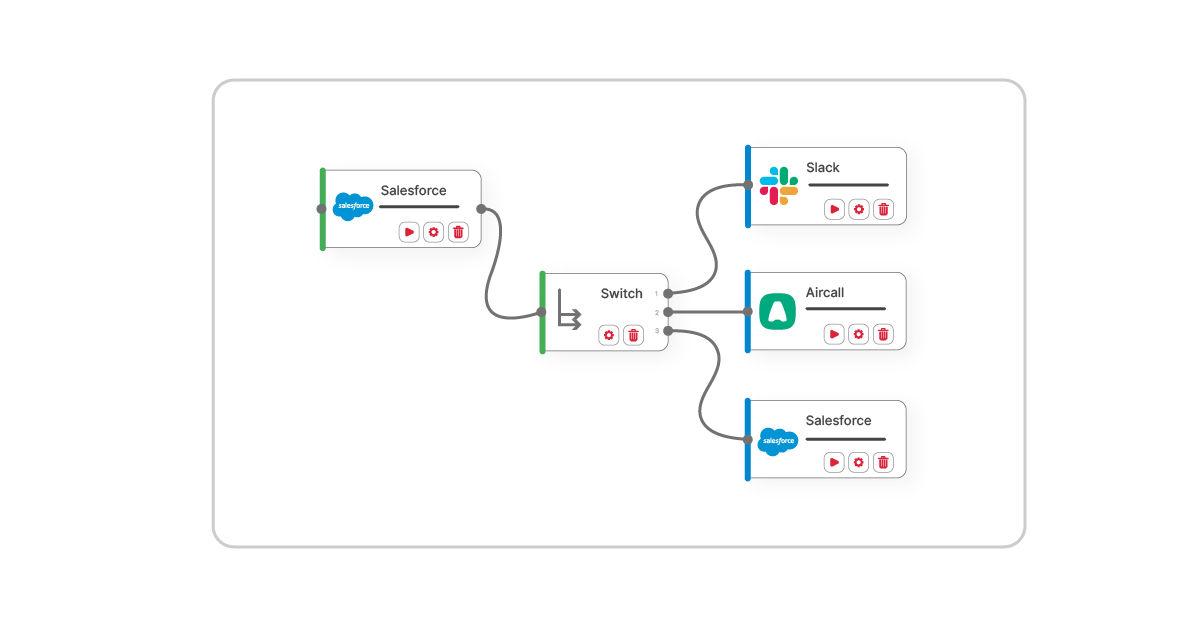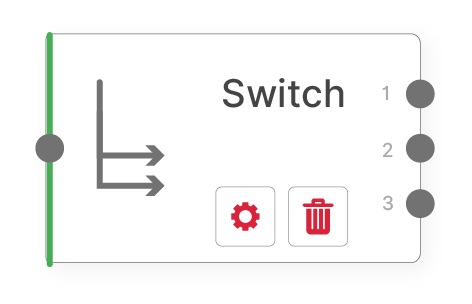
Integration workflows can route data based on specific criteria and significantly improve the efficiency and accuracy of business processes. Embedded integration platforms provide several tools to enhance the routing of said data, one such tool is the Switch Step.
The Switch Step recently released by Cyclr enables users with the ability to split data in workflows and send it down multiple branches. The splitting occurs based on specific conditions set by the user. This tool offers a solution for branching data within integration workflows when a simple true/false path isn’t applicable.
What is the Switch Step?
The Switch Step is a tool created for users of Cyclr to branch their workflows based on specific conditions. It is especially useful when a Yes/No or True/False isn’t applicable to the data in question. Instead, it allows users to define multiple use cases. These use cases are based on the data flowing through the integration.

The data will then follow different paths and match with the right use case. If no match is found a default path is provided. This means all the data is handled and not missed.
Key features of Switch Step include:
- Data Branching: The Switch Step allows users to split data into multiple paths, each defined by a case that is set up within the tool.
- Case-Insensitive Matching: The tool performs case-insensitive comparisons, ensuring that variations in capitalisation do not affect the outcome.
- Customisable Branches: Users can create as many branches as needed, allowing for granular control over how data is processed within the integration.
Setting Up a Switch Step
The Switch Step functions by comparing the Left Operand against the defined Cases using an equality check. Essentially, it searches for a specific value within your data and compares it with the given cases using an equality condition. If a match is found, the workflow will continue with the corresponding branch. If no match is found, the workflow will follow the default path.
Setting up a Switch Step within your integration workflow step-by-step:
- Add the Switch Step to the integration workflow:
- Start by clicking and dragging the Switch Step into the integration cycle. Users can find it under “Tools” from the right panel in the Builder. Position it where the data needs to be split, and connect it with the other steps in the cycle or template.
- Configure the Switch Step:
- Click the Step Setup button to begin configuration.
- From the setup menu, choose a previous step in the workflow from the Source dropdown. This source step will provide the data that the Switch Step evaluates.
- Next, from the drop-down list that appears, select the specific field from the Source step that will act as the Left Operand. This is the Switch Step will take the value that will be compared against the use cases.
- Define Your Cases:
- Click on Add New Case to specify the values against which the Left Operand will be compared. For each case, define the path to follow if the Left Operand matches the case value. Note that the tool is not case-sensitive, so it is important to be specific.
- Users will notice that a default case is already set up in the switch step automatically and is the path that will be followed if the data does not match any of the specified cases.
- Expand and Refine Your Branches:
- All the specified use cases should now be visible in the step as separate exits. Continue building the integration branches for each scenario specified.
- Users can create multiple branches, each catering to a different scenario within the data.
Example Use Case: Handling Customer Feedback
Imagine an integration that processes customer feedback and it needs to route feedback data based on sentiment, to funnel customers to different relationship management pipelines.
Users can set up the Switch Step to follow different paths according to the satisfaction score provided by the customer. For example, a user can set up the highest satisfaction score to automatically trigger a notification to the marketing team for potential testimonials. Alternatively, a user could route negative feedback and trigger an alert to the customer service team for investigation. As well as having neutral scores follow their own branches according to your nurture strategy.
If the feedback survey follows a standard Customer Satisfaction Score (CSAT), the cases for the Switch Step could look like this:
- Positive Feedback: Case 1 for feedback containing “Extremely Satisfied”
- Negative Feedback: Case 2 for feedback containing “Unsatisfied”
- Neutral Feedback: Case 3 for feedback containing “Neutral”
- Default: For any other feedback
The logic of the above cases depends on what the users wish to do with each level of feedback. Users may only want to engage with customers for testimonials who answered extremely satisfied. The use case is specified for only “Extremely Satisfied” answers. However, users will more than likely want to address unsatisfied customers and therefore create a use case for all “Unsatisfied” answers.
These use cases can be routed to exit via different branches, and if feedback doesn’t match either of the use cases for instance, “Satisfied” it would follow the default path.
Conclusion
The Switch Step offers a powerful way to manage complex data flows. The step makes integration workflows more dynamic and customisable. As a result, it ensures a user’s workflow is not only efficient but highly tailored to specific needs. Thus, providing more flexibility and control over how data flows through an integration.
If you’d like to take a closer look at Cyclr and the powerful Switch Step don’t hesitate to contact our Sales Team or join us for a live product demo.
