Updated: | Originally published: | By Daniel Twigg
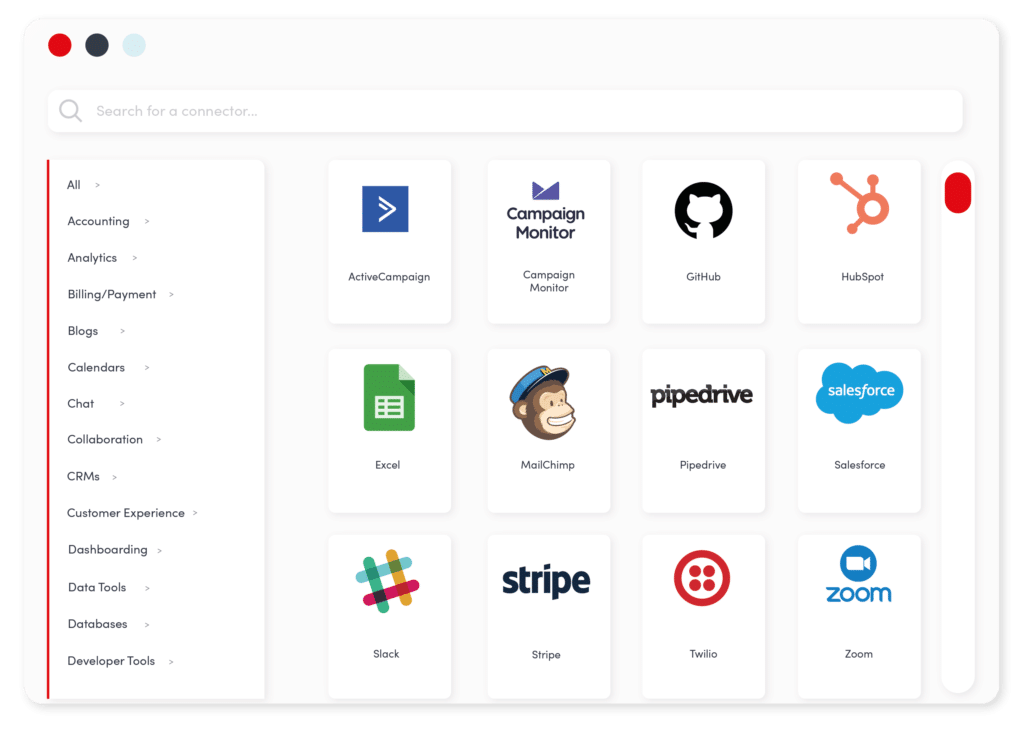
There are thousands of SaaS applications and services available to run businesses. The odds that we have ready-made API connectors available for 100% of your needs are slim. Typically when onboarding new customers we arrange to build new connectors for them as well. However, for the more proactive amongst you, we also provide tools in the Cyclr platform so you can get creating connectors yourself.
What makes this even better is that we’ve got the ability to automate the majority of the creation process using OpenAPI documentation.
In this post we’re going to explore Swagger and OpenAPI, looking at how to use them to create your own custom connector in Cyclr.
What is Swagger/OpenAPI?
APIs come in many shapes and sizes. In a bid to ease the pain of working with many APIs, each of which will likely have its own unique structure, parameters and authentication types, OpenAPI, or Swagger, the specification was created to document APIs.
What is the difference between Swagger and OpenAPI?
Originally developed by SmartBear Software, Swagger is a set of tools for creating, implementing and describing a standardised RESTful API specification. The specification document itself is known as OpenAPI, which has been developed and iterated on by the OpenAPI Initiative (now on version 3.0). The tools used to work with OpenAPI have retained their Swagger name, whose open-source developments are fostered by SmartBear and its community.
This documentation type offers interactive method testing features, for example, check out the Cyclr API documentation, as well as presenting an API’s structure in an easy-to-navigate format.
This documentation can be exported in a JSON or YAML format; a flat-file documenting an API’s methods, fields and even authentication.
How can we use it to create our own connectors?
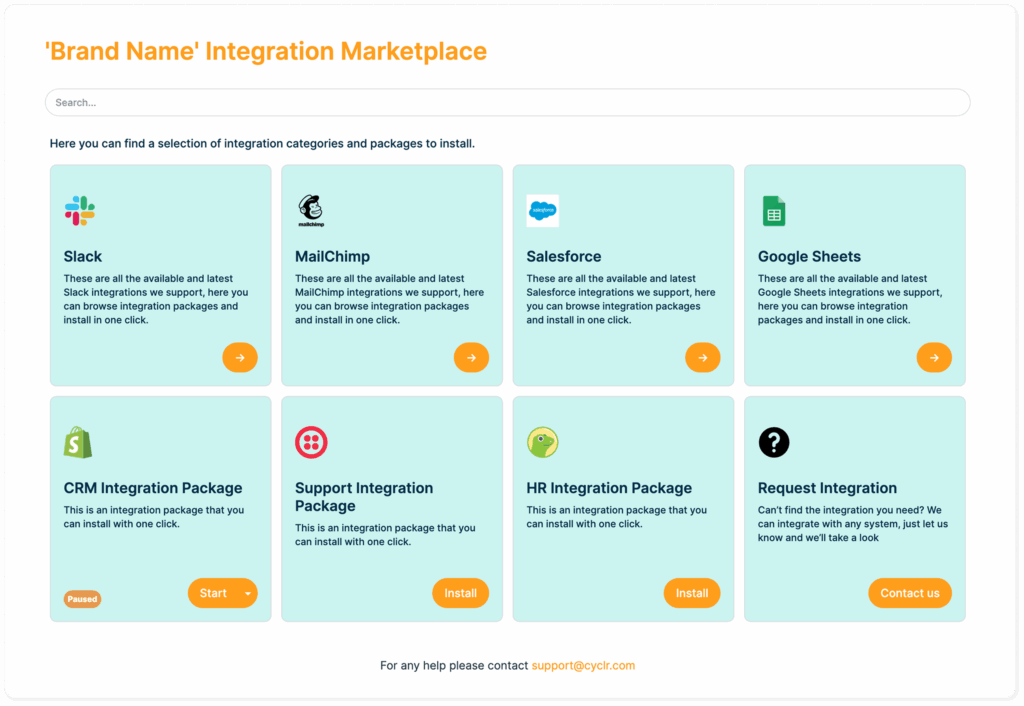
A full integration toolkit should give you the ability to deploy off-the-shelf connectors and/or create your own. Luckily, with Cyclr you can do both.
The Cyclr connector creator tool gives you two options for making a new connector:
Create one from a blank slate
In the create a connector interface each of a connector’s main traits is broken down into separate tabs:
- Authentication
- Parameters
- Methods
- Triggers
- Rate Limiting
- (Plus a bonus Scripting tab for your own custom data orchestration scripts)
This method requires you to go through each and fill in the right details (taken from your connector’s API documentation).
Now, we could look at your application’s OpenAPI documentation and map out the APIs methods and fields, but there’s a much faster way…
Automatically Creating API Connectors Through OpenAPI
… you could import the OpenAPI documentation with one click.
This will automatically map out your connector’s methods and fields within them.
Remember, this is down to how well the API has been documented by the creator. Some will complete authentication details for you, but others won’t. But the vast majority will at least map your methods, typically the most time-consuming part!
Once mapped, you can then go in and make any changes you want. Certain methods or fields not necessary for the integrations you want to make?… hide them! We have bulk editing tools included so you can manage field visibility, required fields and data types in batch. You can even go in and change any of the descriptions if you feel it’s necessary.
Creating our First Connector
So let’s make our own connector!
In this section, I’ll be creating a connector for Giphy, using their API’s OpenAPI specification.
First of all, we need a specification to work with. A great source of these is apis.guru; their library of documented APIs is vast, with hundreds to try out and work with.
I’ve chosen their Giphy documentation as a starting point as it is a small API with a couple of methods. When initially creating a connector it is always worth starting small, so you can ensure authentication and any custom parameters are in place before building out your method list.
You can get the Giphy documentation here – https://api.apis.guru/v2/specs/giphy.com/1.0/openapi.json
Importing the OpenAPI Specification to Cyclr
Inside the Cyclr Console, go to Connectors > Custom Connectors
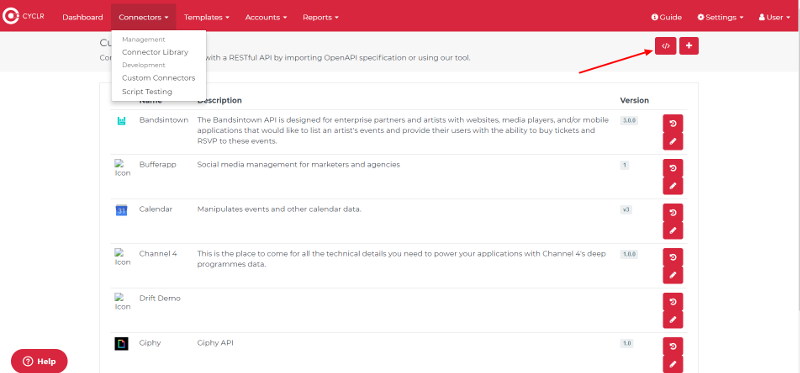
This is where you manage your own connectors, either imported or fully built inside the console. From here you can manage the versioning of your connectors and create copies so you can work on new iterations without affecting any integrations using the old version of your connector.
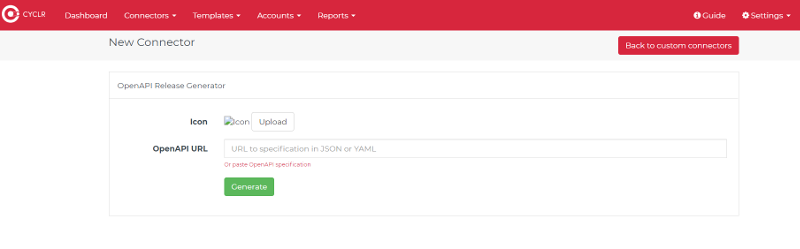
To create a new connector with OpenAPI, click on the </> button at the top right of the interface.
From here, add your name for your connector and below, either paste in the link to the specification online or paste in the full specification itself. When you’re ready click Generate to see Cyclr compiling the specification, and creating methods for you.
Exploring the Connector
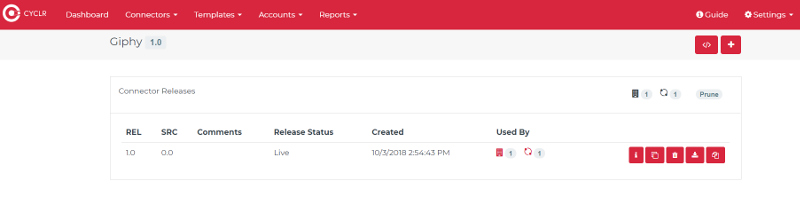
Now it has been imported by Cyclr you can enter your new connector by clicking the Releases button on the Custom Connectors screen. From here you should see only one, unpublished, version of your Giphy connector; so click on the edit (pen-shaped) button to enter your connector’s settings.
From the initial settings page, you may want to upload a logo, which will be used in the builder to identify your connector when building an integration workflow.
The next tab is Authentication. For the Giphy app, you need to ensure that the Authentication Type is set to ApiKey. (We’ll look at getting API Keys for testing later)

If you then go to the Methods tab you’ll see that it’s created 2 methods: gifs and stickers. You can click on these to expand them out, displaying the different functions you’ll have available to you inside the Cyclr builder.
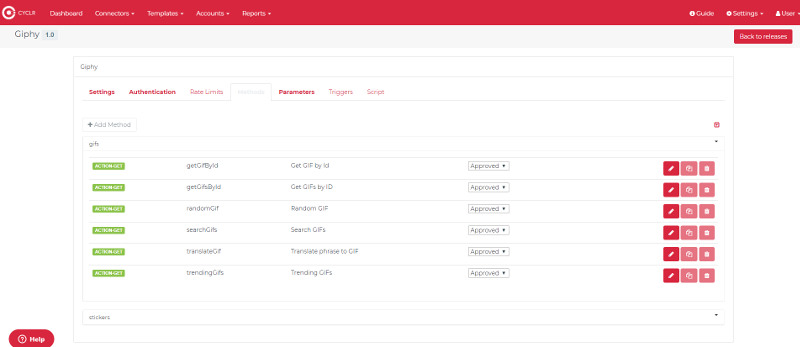
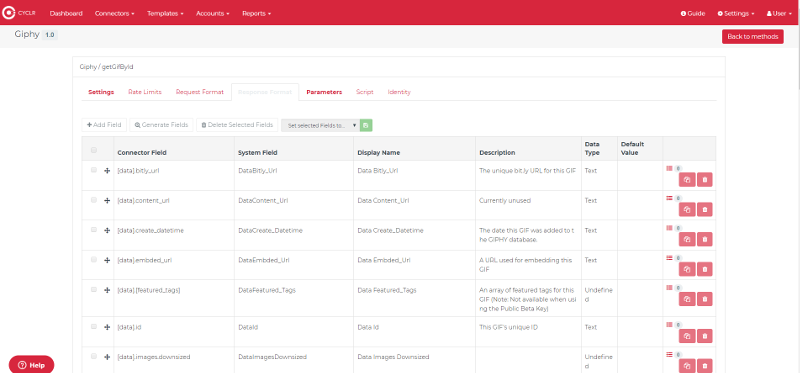
You can even edit each of these, by clicking the edit (pen-shaped) button to take you to the individual method’s settings. It’s worth taking a look at the Request/ Response Format tabs to see what fields have been included in each. It’s possible to add to these if necessary, or you can edit them by simply clicking on the cell in which the data you want to update is.
Testing the Connector
If you’re happy with how your connector is looking then it’s time to publish it. We do this by clicking the “Promote from draft to Live” button inside your connector’s settings.

This will make the connector available in your connector library. However, to test it properly we will need an API Key from Giphy to use when installing the new connector.
Getting API Keys for Testing
Luckily for us, Giphy allows you to sign up for free, issuing you with API Keys for testing when you create an app in their developer portal.
So we need to:
- Go to https://giphy.com and create an account
- Go to https://developers.giphy.com/dashboard/
- Create a new app
- Name it whatever you like
- Copy your API Key
Unlocking your new Connector
Now head back to Cyclr.
Go to your Template Library and click on “Design New Integration”.
Now in the integration workflow builder, scroll to the bottom of the connector sidebar on the right and click “Add Connector”.
Scroll down the list to your newly created Giphy connector (hopefully you added an image to make it stand out). Click Install followed by Next, this will allow you to paste in your API Key to connect to the Giphy service.

Congratulations, you’ve just installed your own homemade API connector!
Moving Data
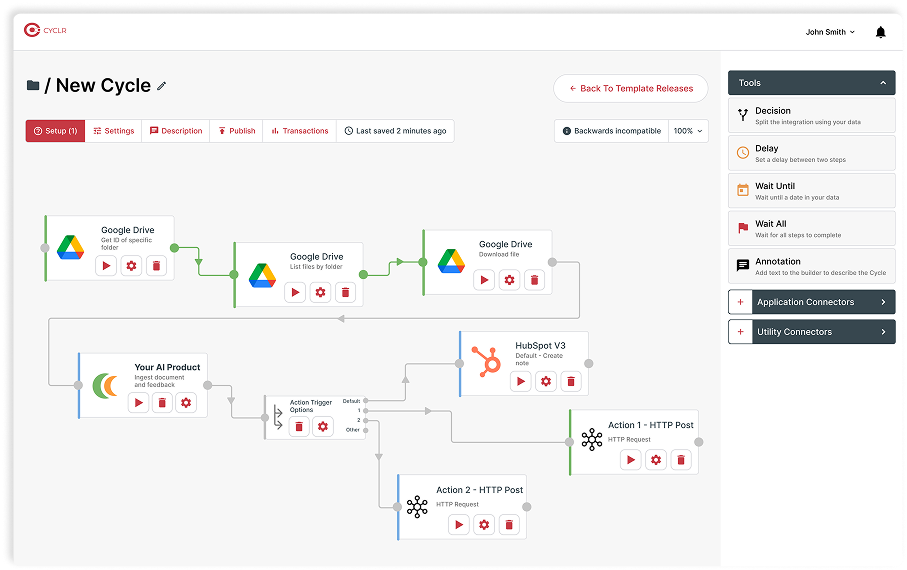
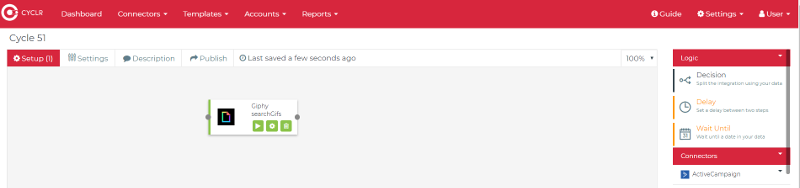
Now with your connector displayed in the builder’s connector bar, click on it to expand out the methods and select one to drag onto the builder. I’d recommend the searchGifs method so we can test the connection.
Click on your method’s Step Setup button, where you can enter a search parameter (the default import of the connector calls this field “q”. As a source, select type a value to search for something giffy. I’ve tried it out with the keyword “smile”.
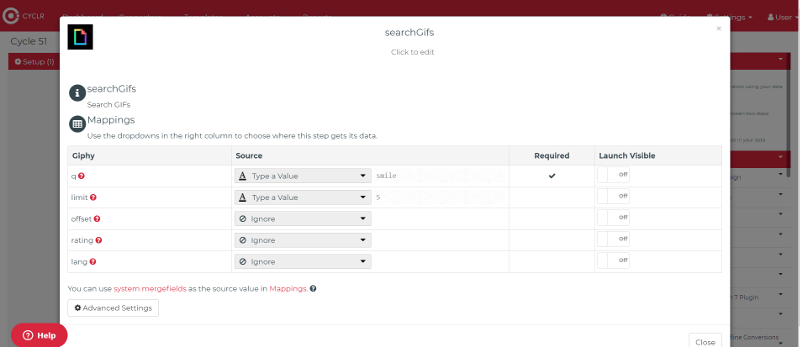
I’ve also limited the number of gifs to return to being 5, by selecting “Type a Value” as the source of the “limit” field, and typing “5”.
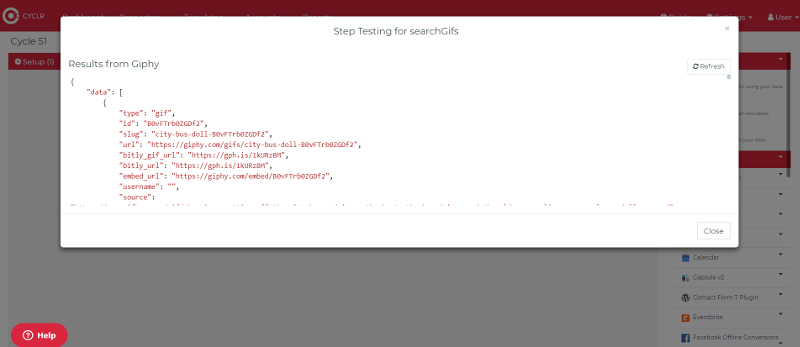
Close the setup screen and prepare for some magic. By clicking on the play-looking “test step” button Cyclr will send the request to Giphy and display what it has to return in JSON format. If you’re seeing data when you click this your connector is operational!
Tidying Up Your Connector
While your connector is up and running you may want to go and make some edits to it. A lot of specifications include some undesired documentation remnants, such as poorly named fields or jibberish descriptions. There may even be some methods you don’t need, but don’t worry, we can sort them out too.
By going back to the Custom Connectors page, go into your Giphy connector and click the Releases button. From here you can make a copy of your connector to work on while the original connector is still accessible and usable by others.
To do this, click the Clone as a new Draft button and then go into your new version through the edit button.
The main things you’ll look to tidy up will be in your connectors methods. Once you click edit on a method you can go about updating its name and description in the Settings Tab. Go into the Response Format tab to see all of the fields available in the method. Click on any of the descriptions or display names to directly edit them (make sure you leave the Connector Field values as they are). You may also want to delete some of the fields if they seem like they won’t be necessary to your integration workflows.
Once you have gone through your methods and fields, and you are happy with your editing, pruning and tidying, it’s time to promote this version of the connector to live.
There you go! Your connector is now up to scratch visually as well as functionally.
Remember!
Remember, if there is a connector you need not already in our library (and you don’t fancy creating and maintaining your own custom connector), you can always request for us to build one for you.
If you’d like a trial of the Cyclr platform you can apply for one here.